

Build the visual once, without flattening its parts
Assemble a diagram from separate objects, refine their appearance and organise the layer order before you save.
Canvas is for material you prepare as part of the lesson. Whiteboard is the separate feature for shared drawing during a live session.
1
Open Canvas and choose the space you need
Open Canvas from Tools & references or add it in an available lesson location. Choose Presentation, Square, Portrait, A4 or a custom size for the blank drawing surface.
2
Combine shapes, text and connectors on one canvas
Add shapes and text, then use lines, arrows or connectors to show relationships. Freehand drawing and images are available when the visual needs them.
- Use connectors for relationships between objects
- Undo or redo while you assemble the visual
3
Place editable labels and arrows over a source image
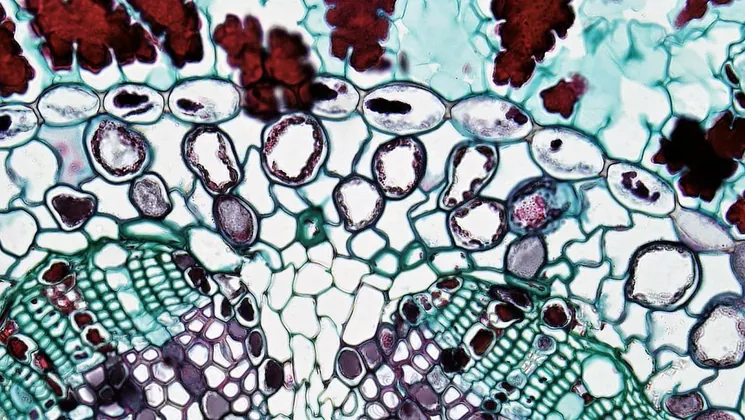
Add a photograph, scan or diagram as the base, then place text, shapes and leader lines over it. Each annotation remains a separate object, so you can reposition or rewrite it without changing the source image.
- Label structures in a photograph or micrograph
- Keep the source image and annotations independently editable
4
Select an object and change only what needs changing
Select a part to adjust its appearance. Use Layers to rename, reorder, group, hide or lock objects without flattening the whole visual.
5
Save the Canvas, then use it where the lesson needs it
Save stores the Canvas as SVG-backed Praktikal material that can be opened in the editor again. Use it as a module visual or as open or closed material in supported lesson locations.